

Removing grey trim
Pull the grey trim upwards starting from the front of the car
It is held down by 4 clips (2 either side)
Step 2
Removing lower panel
Under the stereo there is a small rectangular cover
This is held in by a one way catch at the top and a hinge at the bottom
Prise the catch open from the top
Step 3
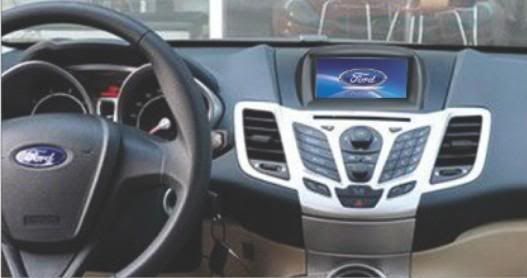
Remove stereo
There are 2 torx screws and 2 hex head bolts under where the grey trim was
Remove these using a torx driver and a socket
Then the stereo is held in by 2 clips (these are roughly located behind the two buttons either side of the hazard/lock buttons)
Pull towards the rear of the car firmly
Screen is held in by 2 torx screws
Main unit is held in by 2 clips
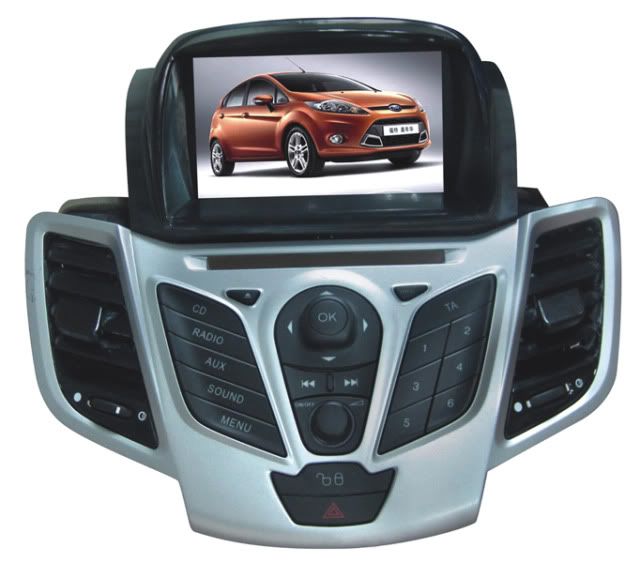
Options
Sony Headunit
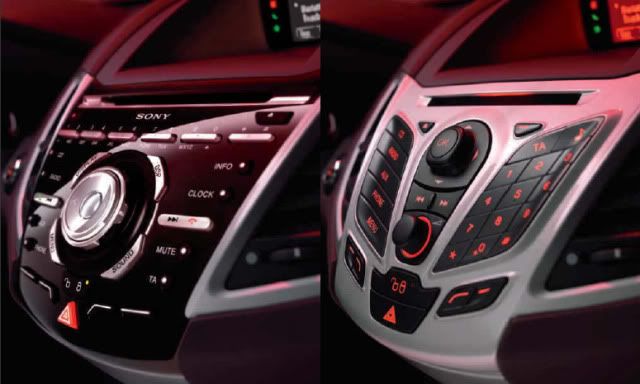

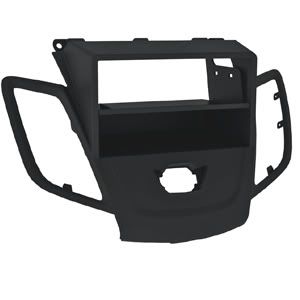
Single Din Unit
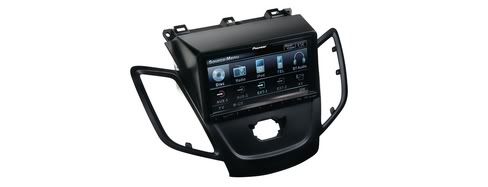
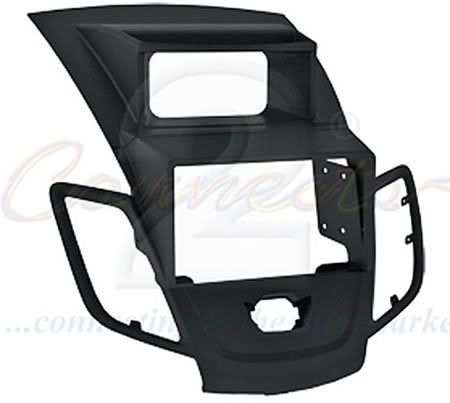
Double Din Unit
2 Stripe Unit From Hong Kong - DVD/TV/BLUETOOTH/SATNAV/IPOD/ETC..
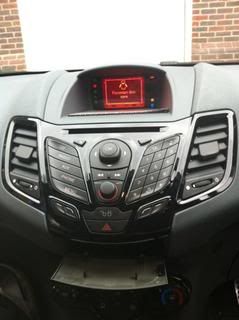
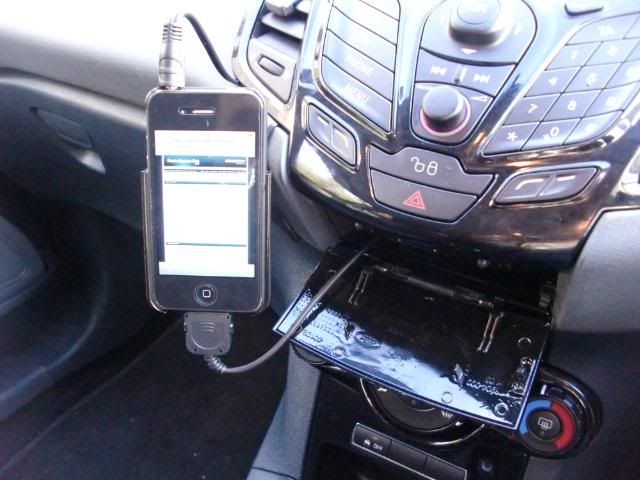
My Adaption - Painted Panther Black


")

